
You’re driving down the road—music up, wind in your hair—when suddenly your car starts pulling to one side. You hear that dreaded thump-thump-thump sound.
It’s a flat tire.
Don’t panic! Every driver faces this at least once. The good news? Learning how to change a tire isn’t hard—and once you know how, you’ll never feel helpless again.
In this complete 2025 guide, we’ll walk you through how to change a flat tire step by step, covering the tools, safety measures, and tips you need to do it quickly and safely. Whether you’re at home, on the roadside, or driving through the middle of nowhere, this guide will give you the confidence to handle any tire emergency.
1. Why Do Tires Go Flat?
Before diving into how to replace a tire, let’s understand why flat tires happen. This helps prevent future breakdowns and saves you time.
Common Reasons Tires Go Flat:
- Sharp objects: Nails, glass, or metal debris puncture your tire.
- Low tire pressure: Driving on underinflated tires weakens sidewalls.
- Worn tread: Old tires lose grip and are prone to punctures.
- Temperature changes: Hot weather expands air; cold weather contracts it—affecting tire pressure maintenance.
- Valve stem damage: A cracked or corroded valve stem causes slow leaks.
- Road hazards: Potholes or curbs can damage the rim and lead to leaks.
💡 Tip: Checking your tire pressure monthly and inspecting for damage are key parts of good car maintenance and help avoid flat tires.
2. Essential Tools You Need to Change a Tire 🧰
Having the right tire changing tools in your car can turn a crisis into a quick fix. Here’s what every driver should keep in their trunk:
Must-Have Tire Changing Tools:
- Spare tire (ensure it’s properly inflated)
- Car jack (to lift your vehicle safely)
- Lug wrench (to loosen and tighten nuts)
- Wheel wedges (prevent car movement)
- Owner’s manual (locate jack points)
- Flashlight (for night changes)
- Tire pressure gauge
- Reflective triangle or road flares
- Gloves and towel (for safety and cleanliness)
🧭 Pro Tip: Keep a small emergency tire repair kit with tire sealant and a portable air compressor. It can temporarily fix minor punctures if you’re far from help.
3. Roadside Safety Tips Before You Start ⚠️
Changing a tire can be dangerous if you don’t prepare properly. Follow these roadside safety tips before doing anything else:
- Pull Over to a Safe Spot: Move to a flat, firm surface away from traffic.
- Turn On Hazard Lights: Make yourself visible to other drivers.
- Apply the Parking Brake: Prevent your car from rolling.
- Place Wheel Wedges: Behind or in front of tires for stability.
- Use Reflectors or Flares: Especially important at night.
⚙️ Safety Reminder: Never change a tire on a slope or soft ground. If you can’t find a flat spot, call roadside assistance instead.
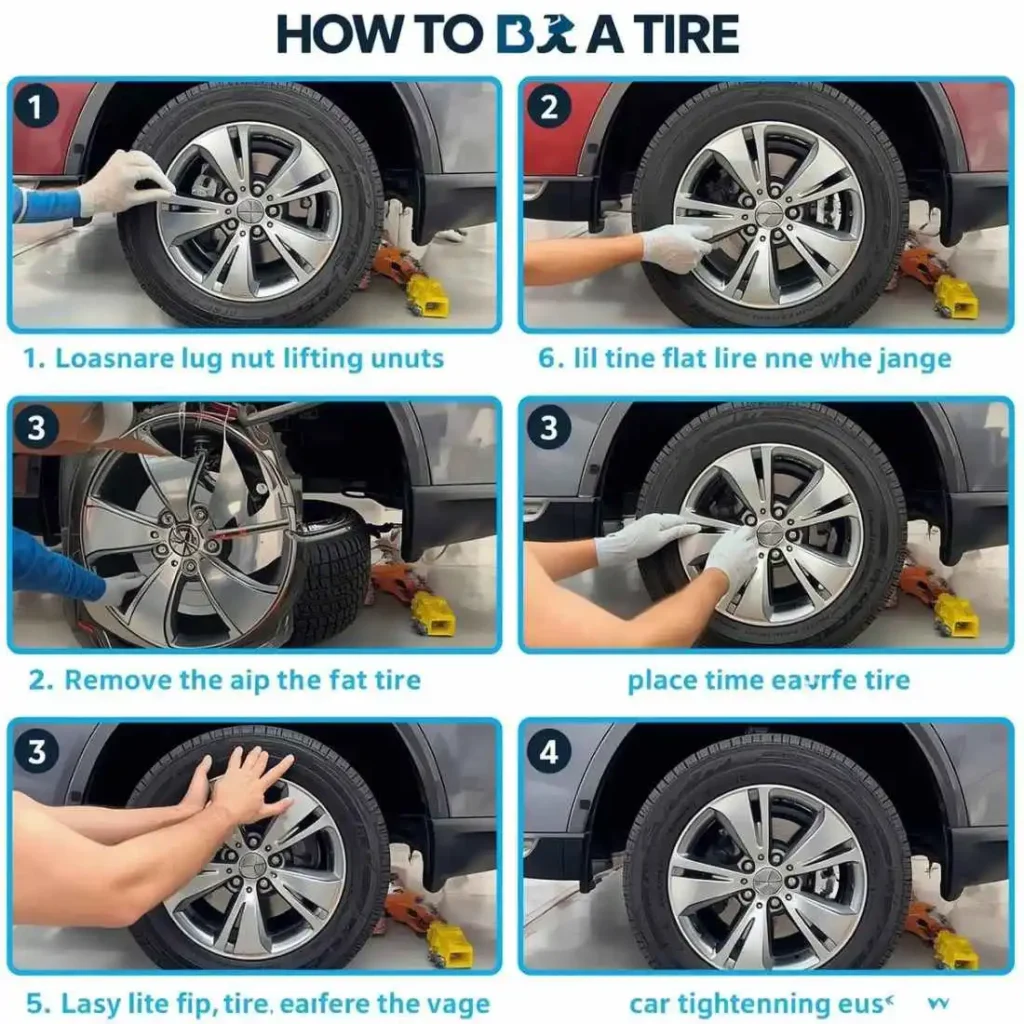
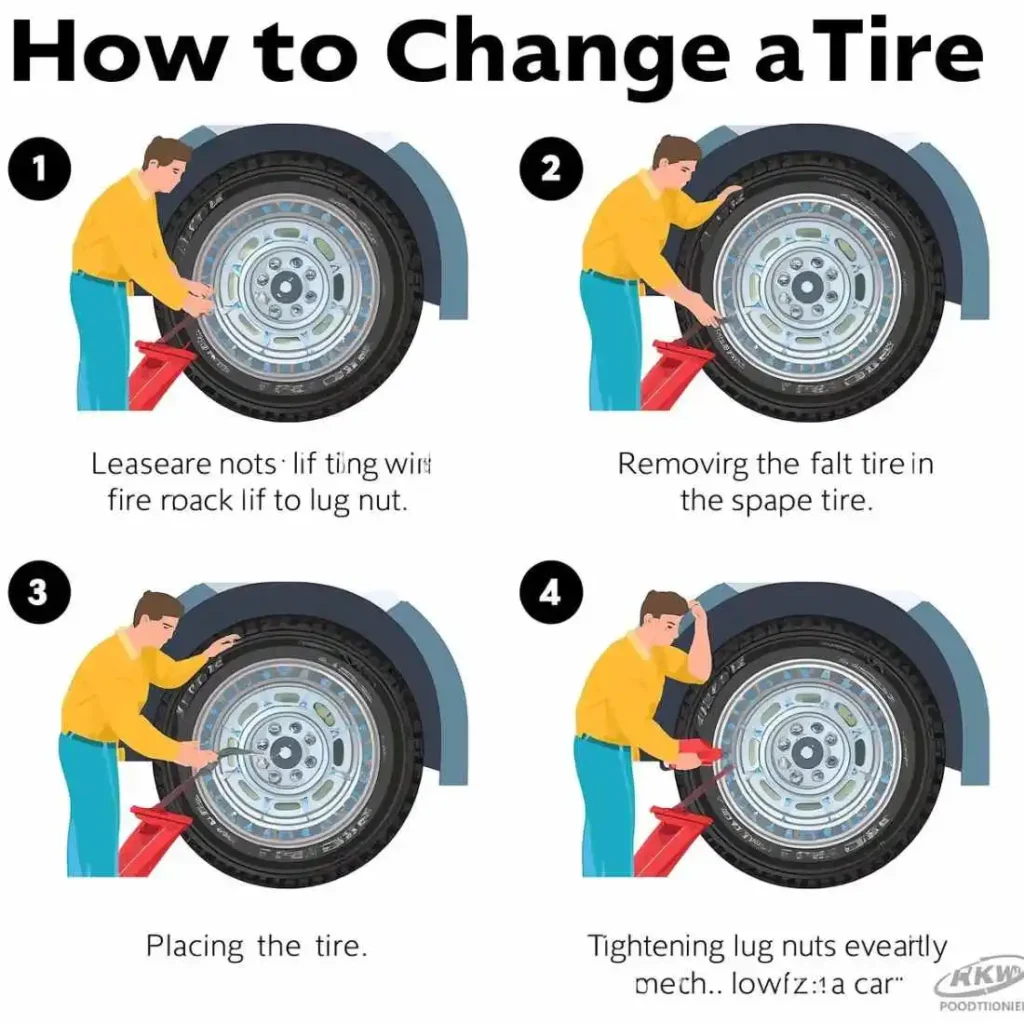
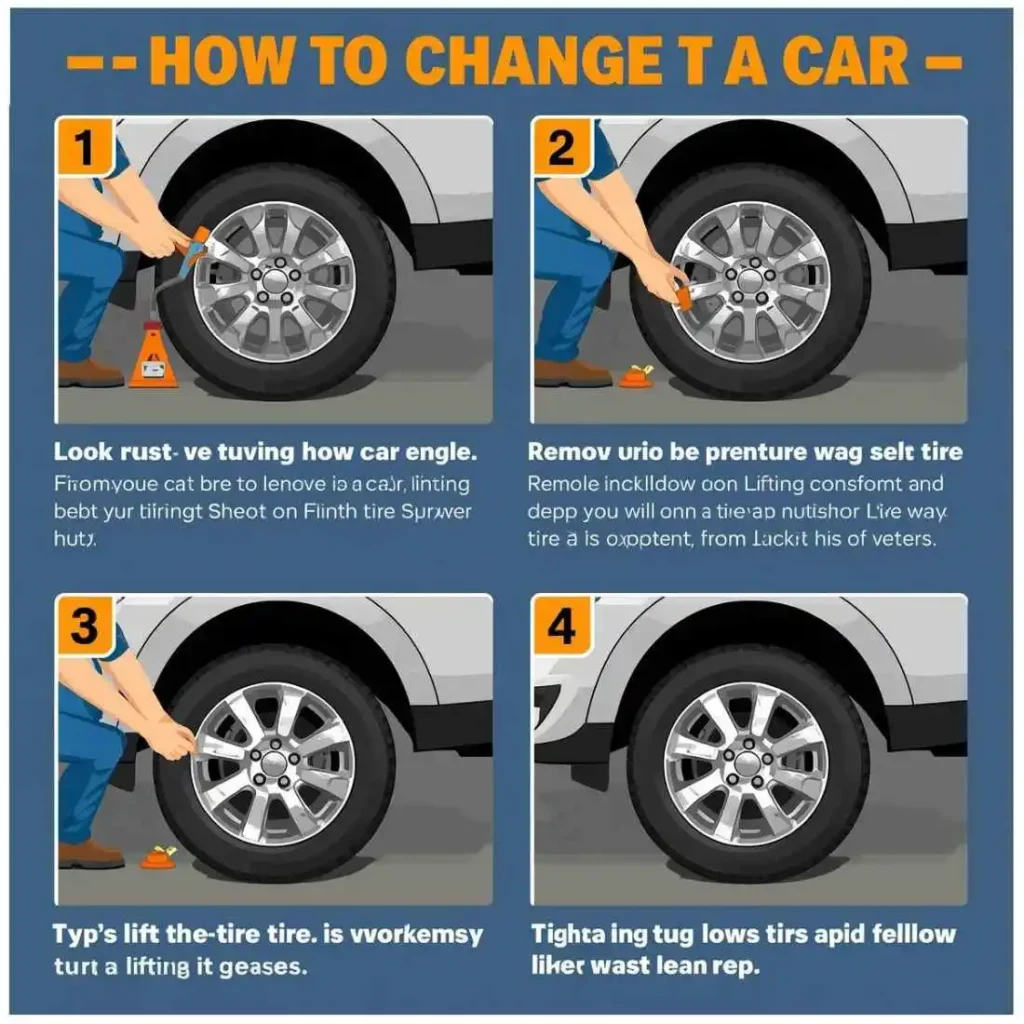
4. Step-by-Step: How to Change a Tire Safely 🔩
Let’s go through how to change a tire step by step. Follow these instructions carefully to get back on the road quickly and safely.
Step 1: Prepare the Vehicle
- Turn on your hazard lights.
- Apply the parking brake.
- Place wheel wedges for safety.
Step 2: Remove the Wheel Cover (if applicable)
- Use the flat end of your lug wrench to remove the hubcap.
Step 3: Loosen the Lug Nuts
- Turn the lug nuts counterclockwise to loosen (don’t remove yet).
- If they’re tight, use your foot for leverage—but don’t strip them.
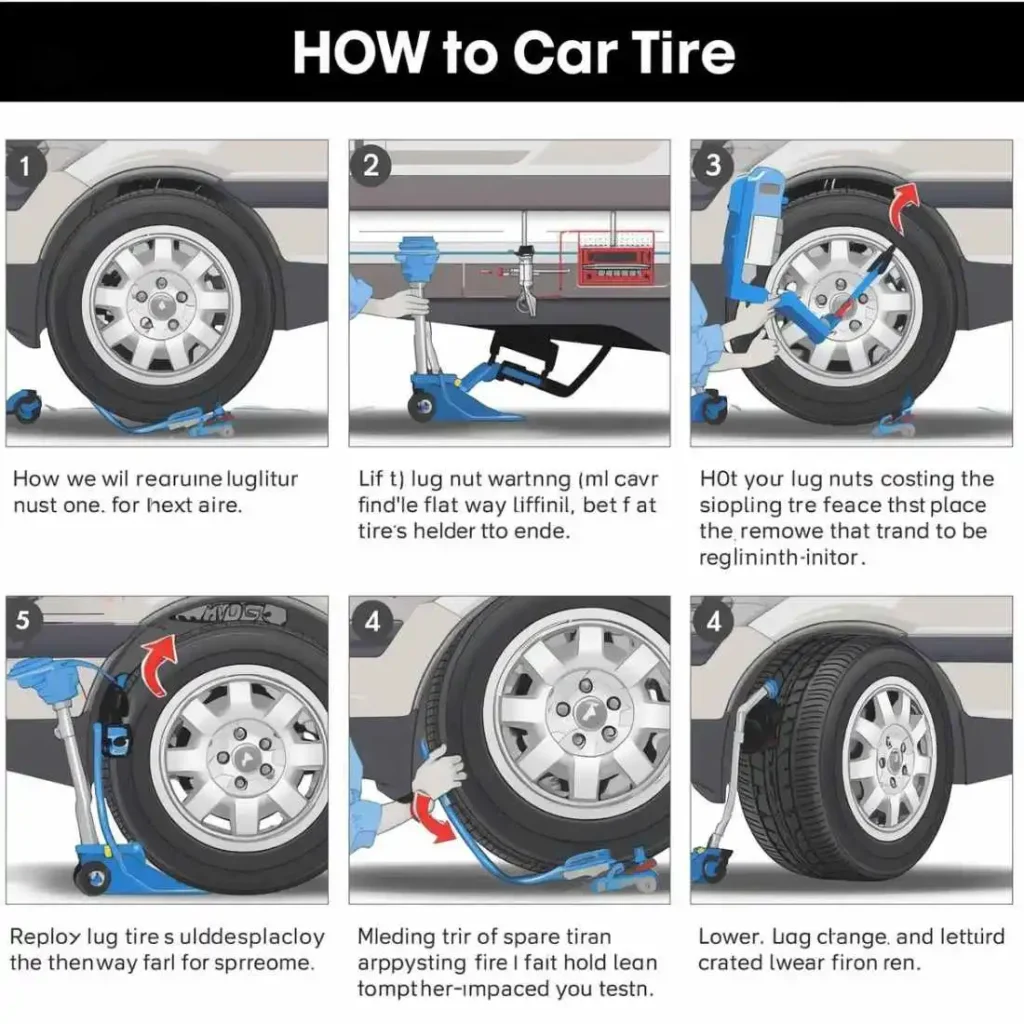
Step 4: Position and Raise the Car Jack
- Check your owner’s manual to find the correct jack point.
- Raise the vehicle until the tire is about 6 inches off the ground.
Step 5: Remove the Flat Tire
- Finish unscrewing the lug nuts.
- Remove the flat tire and place it flat under the car (as a safety backup).
Step 6: Mount the Spare Tire
- Align the spare tire holes with the lug bolts.
- Push it in and hand-tighten the nuts evenly.
Step 7: Lower the Car & Tighten the Nuts
- Slowly lower the car until the tire just touches the ground.
- Tighten the lug nuts in a star (crisscross) pattern for even pressure.
Step 8: Check Tire Pressure
- Use a tire pressure gauge to ensure the spare has adequate air.
Step 9: Reattach the Hubcap
- If your spare allows it, put the hubcap back on.
✅ That’s it! You’ve just learned how to change a car tire by yourself like a pro.
5. How to Remove a Flat Tire Correctly 🚘
If your tire seems stuck, try these tricks before forcing it:
- Tap the Tire Gently: A soft kick can loosen rust.
- Use Penetrating Oil: Spray around the lug nuts if corroded.
- Avoid Hammering: It can damage your rim or suspension.
Removing a stuck tire takes patience—but with the right technique, you’ll avoid unnecessary damage.
6. How to Install a Spare Tire the Right Way 🛞
Once your flat tire is off, installing the spare properly ensures safety and smooth driving.
Steps for Installing a Spare Tire:
- Align the rim holes with the wheel bolts.
- Hand-tighten lug nuts to avoid cross-threading.
- Lower the vehicle gradually with your car jack.
- Fully tighten the nuts again in a crisscross pattern.
🧠 Quick Tip:
If your car has a temporary spare tire (donut), don’t drive faster than 50 mph or more than 70 miles. Visit a tire repair shop as soon as possible.
7. What to Do After You Change a Tire 🧭
Congratulations! You’ve changed your tire. But don’t hit the highway just yet.
Follow these post-change steps:
- Double-Check Lug Nuts: Make sure all are tight.
- Drive Slowly for 5–10 Minutes: Test for vibrations.
- Visit a Mechanic: Get your alignment and pressure checked.
- Replace or Repair the Flat: Don’t rely on your spare long-term.
🔧 Pro Tip:
If your spare is a full-size tire, check the tire tread depth to ensure it matches the others for even wear.
8. Common Mistakes to Avoid ❌
Even confident drivers make mistakes during a tire change. Avoid these errors to stay safe:
- Forgetting to engage the parking brake
- Lifting the car before loosening lug nuts
- Incorrect jack placement
- Driving long distances on a donut spare
- Failing to check tire pressure afterward
- Overtightening nuts with power tools
Each of these mistakes can lead to damage or unsafe driving conditions.
9. Tire Maintenance Tips for the Future 🏁
Preventing a flat tire is easier (and cheaper) than fixing one. Follow these tire maintenance tips to keep your car road-ready:
- Check Tire Pressure Monthly: Ideal levels are in your owner’s manual.
- Rotate Tires Every 6,000–8,000 Miles: For even wear.
- Inspect for Damage: Check sidewalls for cracks or bubbles.
- Maintain Proper Alignment: Prevent uneven tread wear.
- Replace Tires When Needed: Use the “penny test” for tread depth.
🧰 Consistent tire maintenance improves performance, saves fuel, and extends tire lifespan.
10. FAQs: Everything About Changing a Tire ❓
Q1: How long does it take to change a tire?
Usually 15–30 minutes, depending on experience and tools.
Q2: Can I change a tire without a jack?
Not safely. Always use a car jack to lift your vehicle properly.
Q3: How far can I drive on a spare tire?
If it’s a donut spare, limit driving to 50 mph and 70 miles max.
Q4: What tools do I need to change a tire?
You need a spare tire, lug wrench, car jack, and tire pressure gauge.
Q5: How often should I check my tire pressure?
At least once a month or before long road trips.
Q6: What should I do if I don’t have a spare tire?
Use a tire repair kit or call roadside assistance for help.
Q7 (Voice Search Optimized):
“Hey Google, what’s the fastest way to change a tire?”
Answer: Use a car jack, loosen lug nuts before lifting, and follow this step-by-step tire change guide for speed and safety.
Conclusion: Stay Ready, Stay Safe 💪
Learning how to change a tire is one of the most empowering skills a driver can have. With the right tools, safety habits, and a little confidence, you’ll never be stranded again.

