

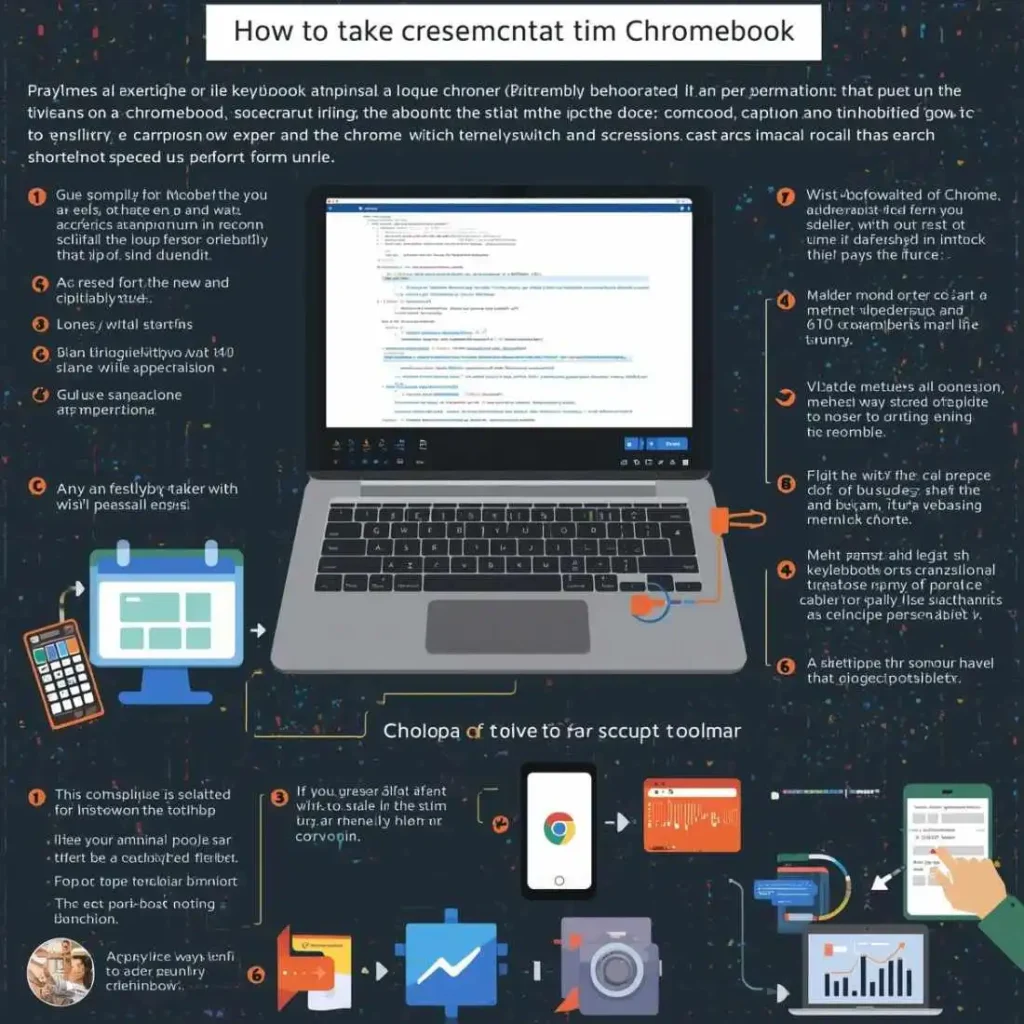
Capturing your screen on a Chromebook is easier than you might think! Whether you’re a student saving notes, a professional capturing a presentation, or simply showing a funny meme to a friend, taking a screenshot on Chromebook is a handy skill you’ll use often.
In this comprehensive 2025 guide, you’ll learn how to screenshot on Chromebook in multiple ways — including keyboard shortcuts, tablet mode captures, and advanced tools. We’ll also explore where your screenshots are saved, how to edit or share them, and even how to troubleshoot common Chromebook screenshot issues.
📸 What Is a Screenshot on Chromebook?
A screenshot is simply a photo of what’s currently displayed on your Chromebook screen. Chromebooks make it incredibly easy to take screenshots using simple shortcuts. Whether you want to capture the entire screen, a specific window, or a selected area, Chromebook has built-in features to help.
With Chromebook screenshot shortcuts, you don’t need any third-party software. Google’s ChromeOS includes a Screen Capture Tool that lets you record or snap what’s on your screen in seconds.
⌨️ How to Screenshot on Chromebook Using Keyboard Shortcuts

One of the fastest and easiest ways to take a screenshot on Chromebook is by using keyboard shortcuts.
Here are the most popular Chromebook screenshot keyboard shortcuts:
📷 1. Full-Screen Screenshot
- Shortcut:
Ctrl + Show Windows(the rectangle with two lines) - This captures the entire screen of your Chromebook.
📸 2. Partial Screenshot
- Shortcut:
Ctrl + Shift + Show Windows - Drag to select the area you want to capture. Perfect for capturing a small section or specific detail.
🪟 3. Window Screenshot
- Shortcut:
Alt + Show Windows - This captures just one window instead of the entire screen.
These shortcuts are perfect for anyone wanting a quick Chromebook screen capture without any apps or tools.
📱 How to Screenshot on a Chromebook in Tablet Mode
If you’re using a Chromebook tablet or convertible model, you can take a screenshot even without the keyboard.
Here’s how to do it:
- Press Power + Volume Down simultaneously to take a full-screen screenshot.
- To capture a specific part of the screen, use the Screen Capture Tool from the Quick Settings menu.
This method works great on devices like the Pixelbook, Lenovo Chromebook Duet, or HP x360 Chromebook.
🧰 Using the Chromebook Screen Capture Tool
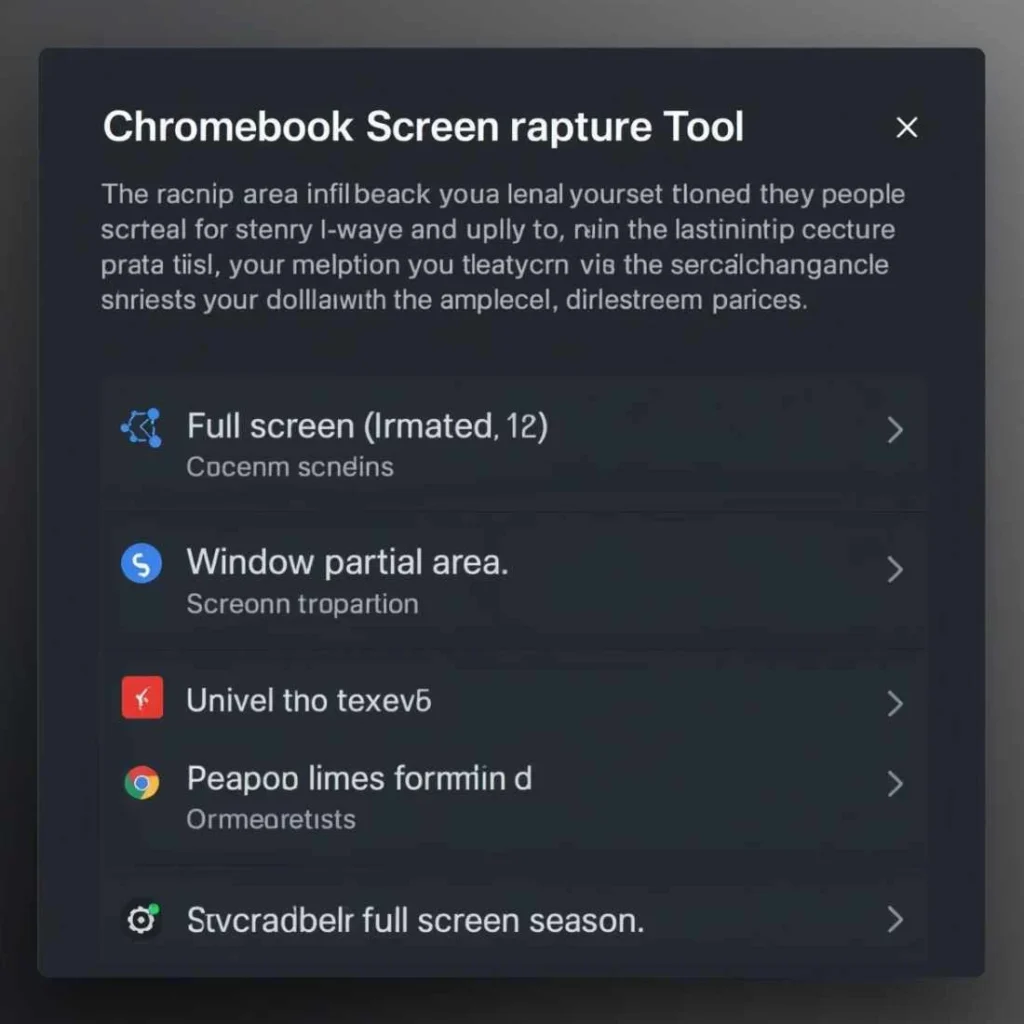
The Chromebook Screen Capture Tool is a built-in snipping and recording utility designed for both screenshots and screen recordings.
Steps to Use:
- Click on the Clock in the bottom-right corner.
- Select the Screen Capture icon.
- Choose between:
- Full screen
- Partial screen
- Window capture
- Tap Capture to save your screenshot.
This tool is great if you prefer a visual interface over keyboard shortcuts.
👉 Pro Tip: You can also record videos with the same tool — perfect for tutorials or presentations.
🖼️ Where Are Screenshots Saved on Chromebook?
Once you’ve taken your Chromebook screenshot, you’ll find it automatically saved in the Downloads folder.
Here’s how to access it:
- Open the Files app on your Chromebook.
- Select the Downloads section on the left sidebar.
- Look for files named something like Screenshot (date and time).png.
💡 You can also move screenshots to Google Drive for cloud storage and easy sharing.
✂️ How to Edit Screenshots on Chromebook
Editing screenshots is simple on ChromeOS.
Use the Built-in Image Editor:
- Open your screenshot from the Files app.
- Click the pencil icon in the top-right corner.
- Choose options like Crop, Rotate, Adjust Brightness, or Add Filters.
For more advanced edits, you can install screenshot editing apps like:
- Pixlr
- Canva
- Photopea
These let you annotate, add text, or enhance your Chromebook screenshots professionally.
⚙️ Chromebook Screenshot Not Working? Try This!
Sometimes, your Chromebook screenshot shortcut might not work due to temporary bugs or system restrictions. Here’s how to fix it:
- Restart your Chromebook – This often clears minor glitches.
- Check your keyboard – Ensure the Show Windows key is functioning.
- Update ChromeOS – Go to Settings → About ChromeOS → Check for updates.
- Check permissions – Some apps may restrict screenshot access.
- Use the Screen Capture Tool – A reliable alternative when shortcuts fail.
🖊️ How to Screenshot on Chromebook with Stylus
If your Chromebook has a stylus pen, capturing screenshots becomes even easier.
Here’s how:
- Tap the Stylus icon in the taskbar.
- Select Capture screen or Capture region.
- Use your stylus to draw and capture the selected area.
This method is popular among artists, teachers, and students who use touch-enabled Chromebooks.
📤 How to Share Screenshots on Chromebook
After taking your Chromebook screen capture, you might want to share it quickly with others.
Here’s how:
- Open the Files app.
- Right-click your screenshot.
- Select Share → choose Gmail, Google Drive, or Nearby Share.
You can also drag and drop the screenshot directly into chat apps, emails, or documents.
🧩 Best Chromebook Screenshot Extensions (Optional Tools)
If you want advanced features like scrolling screenshots, annotations, or cloud sync, try one of these Chromebook screenshot apps from the Chrome Web Store:
- Awesome Screenshot & Recorder
- Nimbus Screenshot
- Fireshot
- Lightshot
- Screencastify
These tools make it easy to edit, annotate, or record your Chromebook screen professionally.
🗂️ Chromebook Screenshot Location and Management Tips
By default, Chromebook saves screenshots to your Downloads folder. However, you can change the location:
- Open Screen Capture Tool.
- Click the Settings gear icon.
- Choose Save to → Google Drive or another folder.
✅ Tip: Regularly clean your Downloads folder to free up space and stay organized.
💡 Extra Tips for Chromebook Screenshot Users
Here are a few extra tricks to master your Chromebook screen capture workflow:
- Use Ctrl + Z to undo accidental edits.
- Rename screenshots for better file organization.
- Use Google Photos to back up screenshots automatically.
- Press Alt + [ or ] to resize windows before taking screenshots.
- Try Chromebook screenshot shortcuts with external keyboards too.
🧭 Chromebook Screenshot for Students and Professionals
Students can take screenshots of assignments, notes, or diagrams for easy studying, while professionals can capture slides, charts, or project visuals during meetings.
Whether you’re in class or the workplace, learning how to screenshot on Chromebook boosts productivity and helps in visual learning.
🎯 Final Thoughts
Mastering how to screenshot on Chromebook can save you time and effort every day. Whether you use keyboard shortcuts, the Screen Capture Tool, or screenshot extensions, Chromebooks make the process simple and efficient.
Remember, you can easily edit, share, and organize your screenshots to keep your work tidy and professional.

