
Picture this: you’re getting ready for your first big job interview, a wedding, or a classy dinner date. Your suit looks sharp, your shoes are polished — but that tie in your hand? It’s a complete puzzle. We’ve all been there.
Learning how to tie a tie isn’t just a life skill — it’s a mark of confidence, style, and self-presentation. Whether you’re a beginner or looking to master advanced knots, this comprehensive guide will help you tie a perfect necktie every single time.
1️⃣ Essential Tie-Tying Basics
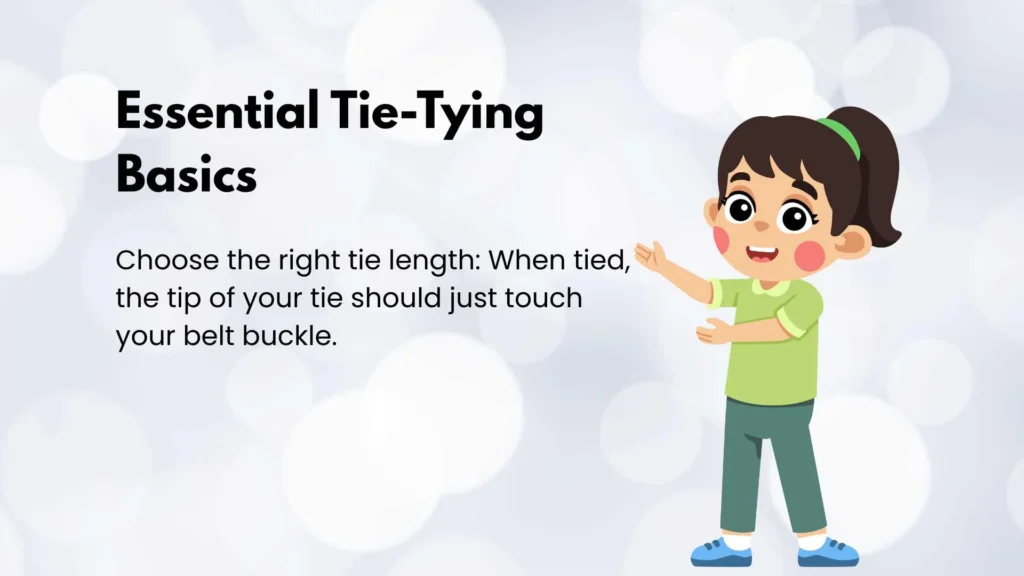
Before you start practicing how to tie a tie, let’s go over some essentials that make the process smoother:
- Choose the right tie length: When tied, the tip of your tie should just touch your belt buckle.
- Start with proper posture: Stand straight in front of a mirror; ensure lighting is clear.
- Fabric matters: Silk ties drape easily, cotton ones hold shape better.
- Mirror technique: Always tie while facing the mirror — you’ll understand the motion faster.
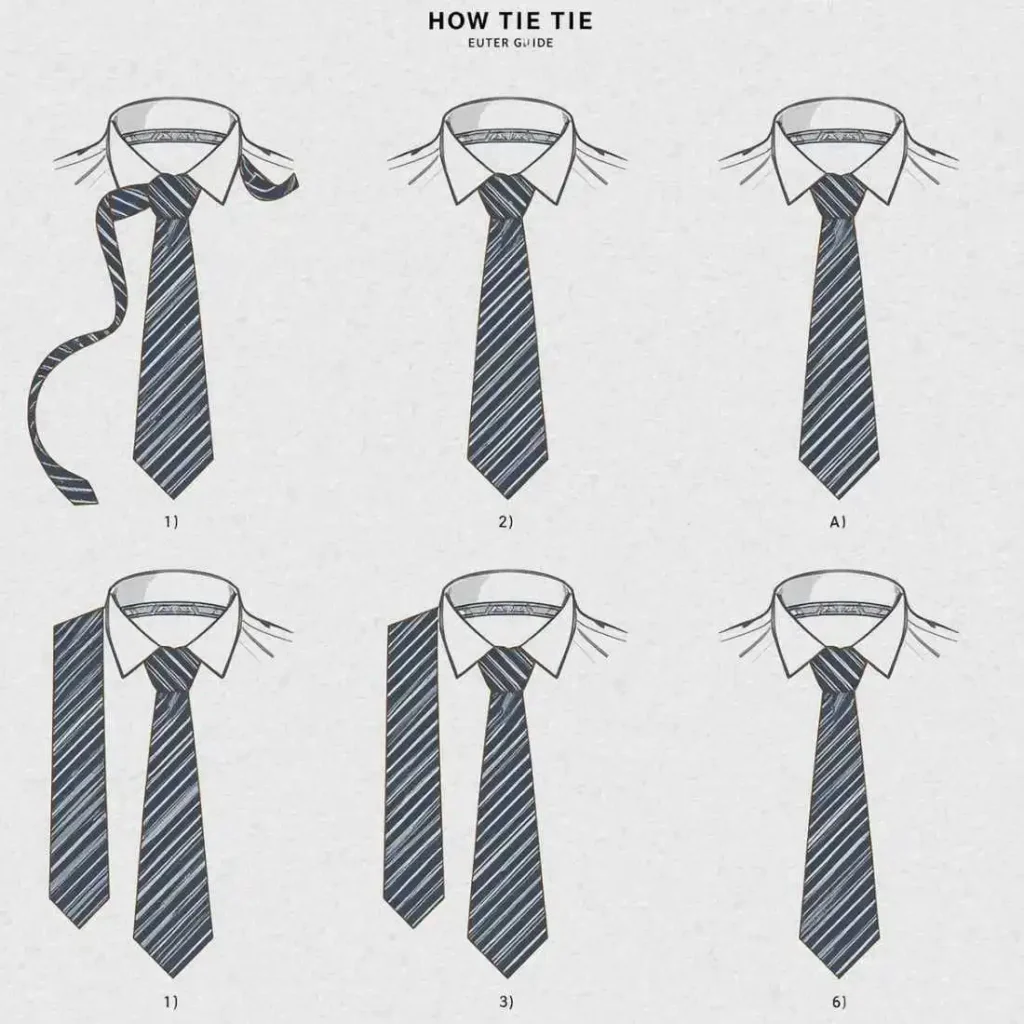
📸 [Insert diagram: labeled parts of a tie – narrow end, wide end, knot area]
2️⃣ Four-in-Hand Knot (The Classic)
This is the most popular and easiest knot — ideal for beginners. It’s versatile and works with almost any shirt collar.
Step-by-Step Instructions:
- Drape the tie around your neck with the wide end about 12 inches longer.
- Cross the wide end over the narrow end.
- Bring it under and then across again.
- Pull the wide end up through the loop around your neck.
- Finally, slide the wide end down through the front loop you’ve created.
- Adjust gently and tighten by holding the narrow end and sliding the knot up.
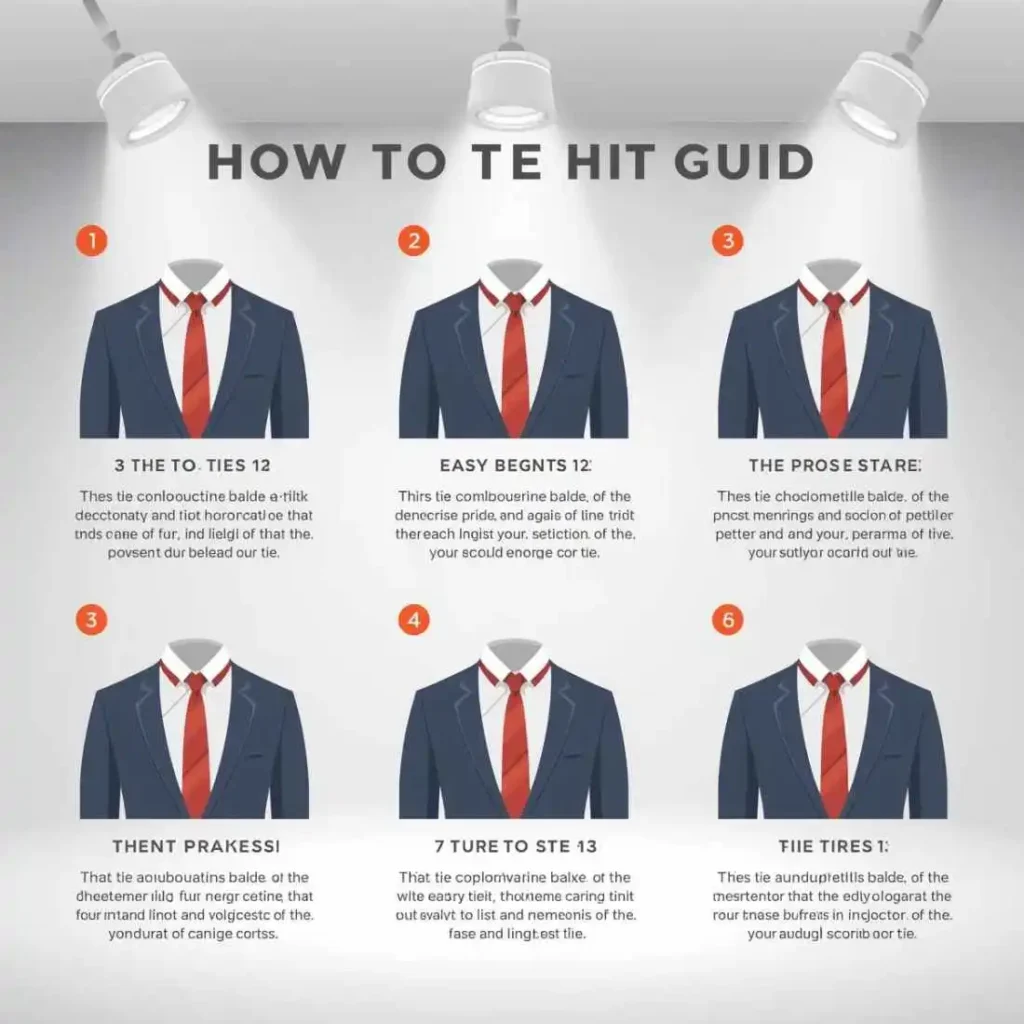
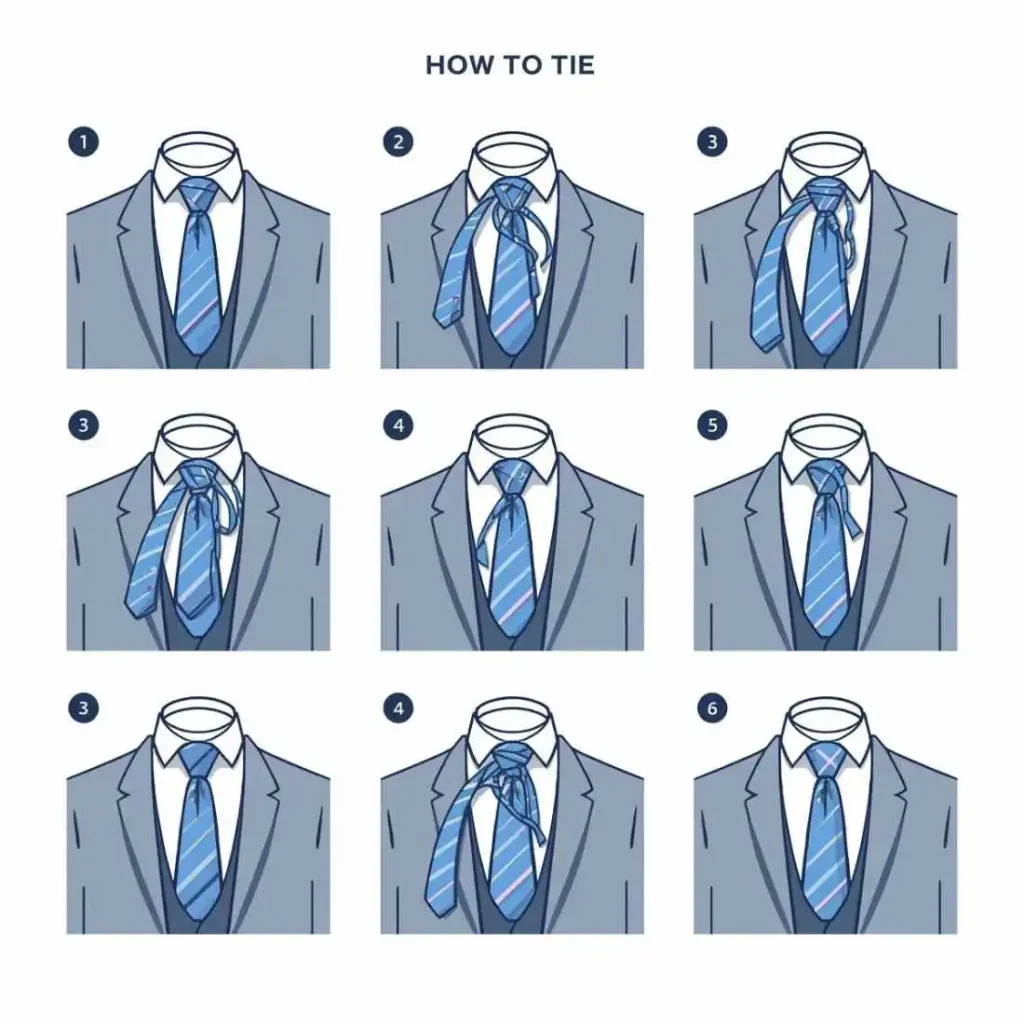
📸 [Visual: step sequence for the Four-in-Hand knot]
👍 Best For:
- Daily office wear
- Casual or semi-formal events
🔑 Pro Tip:
For a dimple in the center, pinch the fabric just below the knot before tightening.
3️⃣ Half Windsor Knot (The Modern Gentleman)
A balanced, medium-sized knot that exudes elegance — perfect for business meetings.
Step-by-Step Instructions:
- Start with the wide end on your right, longer than the narrow end.
- Cross the wide end over the narrow end.
- Bring it up through the neck loop and then down to the left.
- Take it behind the narrow end to the right.
- Bring it across the front and pass it up through the loop again.
- Slide it down through the front loop to form the triangle.
- Tighten by pulling the narrow end and adjusting.
📸 [Visual: Half Windsor shape diagram]
👍 Best For:
- Business or corporate looks
- Button-down or spread collar shirts
4️⃣ Full Windsor Knot (The Power Knot)
This one’s for power dressers — bold, symmetrical, and commanding.
Step-by-Step:
- Drape the tie so the wide end is longer.
- Cross the wide end over the narrow one and pull through the neck loop.
- Bring it behind and up again on the opposite side.
- Pass it across the front horizontally.
- Pull the wide end up through the neck loop once more.
- Tuck it down through the loop you just created.
- Tighten and shape the triangular knot perfectly.
📸 [Visual: Full Windsor knot diagram]
👍 Best For:
- Weddings, interviews, and formal occasions
- Wide-spread collar shirts
5️⃣ Pratt (Shelby) Knot (Balanced Elegance)
Invented by Jerry Pratt, this knot combines ease and symmetry.
Step-by-Step:
- Start with the tie inside-out.
- Cross the wide end under the narrow end.
- Bring it up and through the neck loop.
- Pull it down to the left.
- Cross it over the front.
- Pull up through the loop and down through the front knot.
- Adjust neatly.
📸 [Visual: Pratt knot step illustration]
👍 Best For:
- Semi-formal events
- Medium collar shirts
6️⃣ Bow Tie Knot (Timeless Charm)
Want to add a vintage twist to your outfit? The bow tie is for you.
Step-by-Step:
- Drape the bow tie evenly around your neck.
- Cross one side over the other.
- Bring it up through the neck loop.
- Form the front bow shape.
- Fold the hanging end back and push it through the loop behind the bow.
- Tighten both ends gently and straighten the bow.
📸 [Visual: Bow tie tying process diagram]
👍 Best For:
- Weddings, galas, or black-tie events
7️⃣ Tips to Look Sharp Every Time
- Practice daily — muscle memory builds fast.
- Use a mirror and lighting to check symmetry.
- Match tie width to lapel width.
- Keep your collar clean and crisp.
- Avoid wrinkled or stained ties (store them rolled, not folded).
💡 Pro Tip: Iron ties on low heat with a towel on top to avoid damage.
8️⃣ Common Mistakes to Avoid
- ❌ Using the wrong length (tie should end at the belt line).
- ❌ Making knots too tight (can wrinkle the tie).
- ❌ Skipping the dimple — it adds character!
- ❌ Mixing patterns that clash.
- ❌ Not aligning the tie center properly.
9️⃣ Best Occasions for Each Knot
| Knot Type | Difficulty | Best Occasion | Shirt Type |
|---|---|---|---|
| Four-in-Hand | Easy | Everyday wear | Narrow collar |
| Half Windsor | Medium | Business meetings | Spread collar |
| Full Windsor | Hard | Formal events | Wide-spread collar |
| Pratt Knot | Medium | Semi-formal | Medium collar |
| Bow Tie | Medium | Black-tie events | Wingtip collar |
🔟 Final Thoughts
Now that you’ve learned how to tie a tie in multiple stylish ways — from the classic Four-in-Hand to the sophisticated Full Windsor — you’re ready to look sharp in any situation. The secret isn’t perfection on the first try, but practice, posture, and confidence.
